Hello guys....if you have a requirement like make a D365 Portal Multilingual then follow the steps to make it......
Step 1: Firstly you need to Enable the languages for your CRM. To enable this go to Setting > Administrator > language. Click on Languages.

Step 2: Select the language which you want to enable for your portal. Here I select Hindi language. Now click on apply.

Step 3: Now Enable the Languages for your D365 Portal. To Enable this go to Portal > Website.

Step 4: Now Open the website record for which you want to make Portal Multilingual.
Step 5: Now go to Supported Languages section. This is a list of Languages which is enabled for your portal. Click on Plus (+) Icon. It will open a new form.

Step 6: Fill the form as show in below ScreenShot.
Portal Language: Select the Language which you want to enable.
Published state: It must be Published.
 Step 7: Now check the portal. Portal now is Multilingual.

Note:- When you Change the Language, you will see, Some content will change it's language and some not. Now the question raised How to change the language of all content.

Follow the steps to change the language of content.
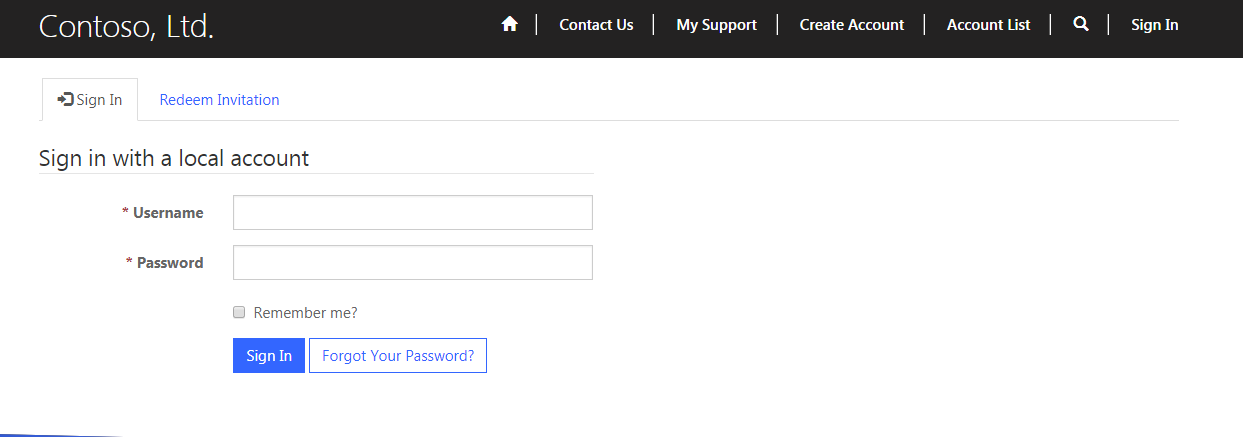
Step 8: Login the D365 portal with Administrator ID and select the language for which you want to change Content's Language. Here i select Hindi Language.

Step 9: To change the Content's language. Hover on content and click on Edit (in english).

Step 10: Now Give Hindi language Content and then click on save.

Now Check the Portal. By doing this, you can change the all content's language as show in below image.

Another Question raised, If you have a custom field on the form in portal then how to change it's language as show in below image.

Follow the steps to change Language of Custom Field/Entity.
Step 1: Open MS Dynamic CRM. Add the entity (for which you want to change language) in your custom solution.
Step 2: Select the solution and Click on Export Translation. It will download a zip file. Now extract the zip files.

Step 3: Now Open the CrmTranslations File. Here you will find the column for each language.

Step 4: Give the Custom entity / Field Translation in front of each column.

Step 5: Save this Excel file and then again bind these files in Zip file.
Step 6: Now Select the solution for which you have export translation and now click on import translation.

Now check the portal.....

Now you can change the language of all content in portal.
Click Here to know, How to create a custom web page in D365 Portal / ADX Studio portal.
Step 1: Firstly you need to Enable the languages for your CRM. To enable this go to Setting > Administrator > language. Click on Languages.

Step 2: Select the language which you want to enable for your portal. Here I select Hindi language. Now click on apply.

Step 3: Now Enable the Languages for your D365 Portal. To Enable this go to Portal > Website.

Step 4: Now Open the website record for which you want to make Portal Multilingual.
Step 5: Now go to Supported Languages section. This is a list of Languages which is enabled for your portal. Click on Plus (+) Icon. It will open a new form.

Step 6: Fill the form as show in below ScreenShot.
Portal Language: Select the Language which you want to enable.
Published state: It must be Published.


Note:- When you Change the Language, you will see, Some content will change it's language and some not. Now the question raised How to change the language of all content.
Follow the steps to change the language of content.
Step 8: Login the D365 portal with Administrator ID and select the language for which you want to change Content's Language. Here i select Hindi Language.

Step 9: To change the Content's language. Hover on content and click on Edit (in english).
Step 10: Now Give Hindi language Content and then click on save.

Now Check the Portal. By doing this, you can change the all content's language as show in below image.
Another Question raised, If you have a custom field on the form in portal then how to change it's language as show in below image.

Follow the steps to change Language of Custom Field/Entity.
Step 1: Open MS Dynamic CRM. Add the entity (for which you want to change language) in your custom solution.
Step 2: Select the solution and Click on Export Translation. It will download a zip file. Now extract the zip files.
Step 3: Now Open the CrmTranslations File. Here you will find the column for each language.
Step 4: Give the Custom entity / Field Translation in front of each column.

Step 5: Save this Excel file and then again bind these files in Zip file.
Step 6: Now Select the solution for which you have export translation and now click on import translation.

Now check the portal.....

Now you can change the language of all content in portal.
Click Here to know, How to create a custom web page in D365 Portal / ADX Studio portal.