Create new Web Roles and open web pages depend upon your web roles in ADX Studio Portal / D365 Portal.

Hello guys..... If you have a requirement like web pages will open based on the user's role, For example: In your portal there are two kind of users one is VIP user and another one is Guest user. When VIP user login the portal, they will see only VIP page and when Guest user login the portal, they will see only Guest page.
To complete this kind of requirement, firstly you have to create a new web roles and give permission on these web roles. Now follow the steps to do it:

I have already created two web pages one is VIP web page and another one is Guest web page.


Step 1:  Go to Portal > Web Role.

Step 2: Create new web roles. Here i am creating two web roles, one is VIP role and other one is Guest Role.
Name: Give the web role name.
Website: Select the website for which we are working.


Step 3: Go to Portal > Web Page Access Control Rule.

Step 4: Create new rule for each web page. Here I am creating two rules, one is for VIP and another one is for Guest.
Name: Give some good name of the rule.
Website: Select the website for which you are working.
Web Page: Now select the web page on which you want to apply rule.
Right: Give the right. Here i am giving Restrict Read.
Scope: Here i am selecting All Content.


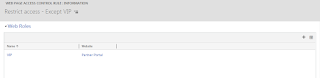
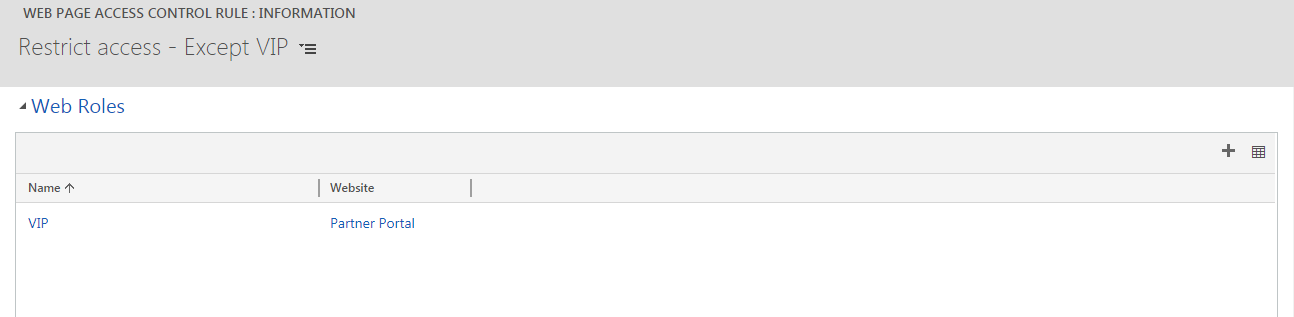
Step 5: Scroll down the rule and add web role in each rule as show in below snapshot.


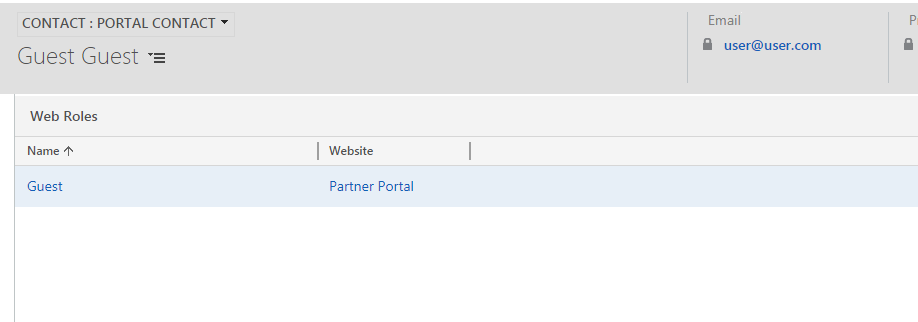
Step 6: Now go to each contact and give web role based on the user. Here i have two contact one is VIP and another one is Guest. I am giving VIP rule to VIP user and Guest rule to Guest user.


Now Go to Portal and check VIP user can access only VIP page and Guest user can access only Guest page.


Click Here to know, Configure Sub-Grid in Entity form in ADX Studio Portal /  D365 Portal.

Control Access Rule of Web Page in ADX Studio Portal / D365 Portal.

Hello Guys....When you create your own custom web pages in the portal, you see that page will be access by users without log-in the portal.In my last post, I created my own web page but you can see this page is accessible without login the portal. If you have not checked this post yet then click Here.

With the help of "Web Page Access Control Rules", we can avoid this kind of situations. Follows the steps to know :

Step 1: Go to Portal > Web Page Access Control Rule.

Step 2: Create a new Rule.
Name: Give some good name of the rule.
Website: Select the website for which you are working.
Web Page: Now select the web page on which you want to apply rule.
Right: Give the right. Here i am giving Restrict Read.
Scope: Here i am selecting All Content.

Step 3: Scroll down this rule and Add web role in the web role section.

Now check the Portal.... Without log-in,user is not able to access this page.


Click Here to know, Create new Web Roles and open web pages depend upon your web roles in ADX Studio Portal / D365 Portal.

Inheritance of web pages using Liquid Template in ADX Studio Portal / D365 Portal

Hello Guys.....We all know that Inheritance is a mechanism in which child object acquires all the property of his parent object. We can also use inheritance in this portal in which one web page inherit the another web page. This can be done through Liquid Template.

Firstly, I will create a parent web page and then show you how to inherit this parent page into child page

Step 1: Go to Portal > Web Template.

Step 2: Create a new Web Template. Give some Name and select the website for which you are working this. This web template is the parent page. All the child pages will inherit this parent page.

Step 3: Now go to Portal > Page Template.

Step 4: Create a new Page Template.
Name: Give some name as you like.
Website: select the website for which you are working.
Type: type is to be web template.
Web Template: select the web template which you created in step-2.
Use website Header and Footer: Checked this option.
Entity Name: select the web page entity.


Step 5: Now go to Portal > Web Page.

Step 6: Create a new web page.
Name: Give some name as you like.
Website: Select the website for which you are working.
Parent page: Parent page will be the Home.
Partial URL: Give the URL as you like.
Page Template: Select the page template which you create in step-4.
Publishing state: It must be Published.

Step 7: Now add this web page in Header's Nav Bar.


Open this web page in Portal. This web page is your parent page.


Now you want to inherit this page in another web page. 

Step 8: Now go to Portal > Web Template. Create a new web template which will inherit the parent web template.
Copy the below code and paste it in your code. This code is use to inherit the page
{% include 'Name of parent web template' %}

Step 9: Now go to Portal > Page Template and create a new page template for it.

Step 10: Now go to Portal > Web Page and create a new web page for this page template.

Step 11: Now add this child page in header's Nav Bar.


Open this child page in portal....


Click Here to know, Control Access Rule of Web Page in ADX Studio Portal / D365 Portal.

Content Snippet in ADX Studio Portal / D365 Portal.

Hello guys....I am back again with an another post. In our last post, I described how to create a custom web page and add entity form in that page. If you have not checked this post yet then click Here to know that.
If you have a requirement like you want to modify the content from the portal side (front side) in your custom web page then Content Snippet will help this. Before moving forward, Firstly, you have to understand "What is Content Snippets."

Content Snippets are the editable content that is to be placed by a developer on a web template to modify the content from portal side (front side). Content Snippets can be edited either through the front-side or through the CRM interface.You must have website access permissions (Admin Permission) in order to edit content snippets.
When editing a snippets, either a Simple Text box will appear, allowing you to edit the content....

or the full edit appears, as it does when editing a page's copy...

Follow the steps to apply snippets in our custom web page. Here i will show you, How to apply both type of Snippets.

Step 1: Go to Portal > Content Snippets. 

Step 2: Create a new Content Snippets. 
Name : Give some name of snippet.
Type :  Give the type Text.
Value : Write some text here which you want to modify from portal.

Step 3: Go to Portal > Web Template. Open a web template on which you want to placed a content snippet.

Step 4: Now copy the below liquid template and placed it in source panel of web template.
{% editable snippets 'Name of Snippet' type: 'text' %}

Now check the Portal.....Now you are able to change the text from portal.


Follow the steps to apply Full Editor. Full Editor is use to apply image or apply custom html coding.

Step 1: Go to Portal > Content Snippet. Create a new content snippet.
Name : Give some name of snippet.
Type : Give the type HTML
Value : Leave it blank. (by the way, here we write HTML and CSS code but for better understanding leave it blank).

Step 2: Go to Portal  > Web Template. Open a web template on which you want to placed a content snippet. 

Step 3: Now copy the below liquid template and placed it in source panel of web template.
{% editable snippets 'Name of Snippet' type: 'html' %}

Now check the portal....... Now you are able to apply full editor box in portal.


Click Here to know,  Inheritance of web pages using Liquid Template in ADX Studio Portal / D365 Portal

How to add entity form in custom web page using Liquid Template in D365 Portal / ADX Studio Portal.

Hello guys.... this is the 2nd post on custom web page in portal. If you don't know the 1st post on this then click Here to know "How to create a custom web page" otherwise follow the steps to know how to add entity form in custom web page.

Step 1: Go to Portal > Entity Form and then create a new entity form.


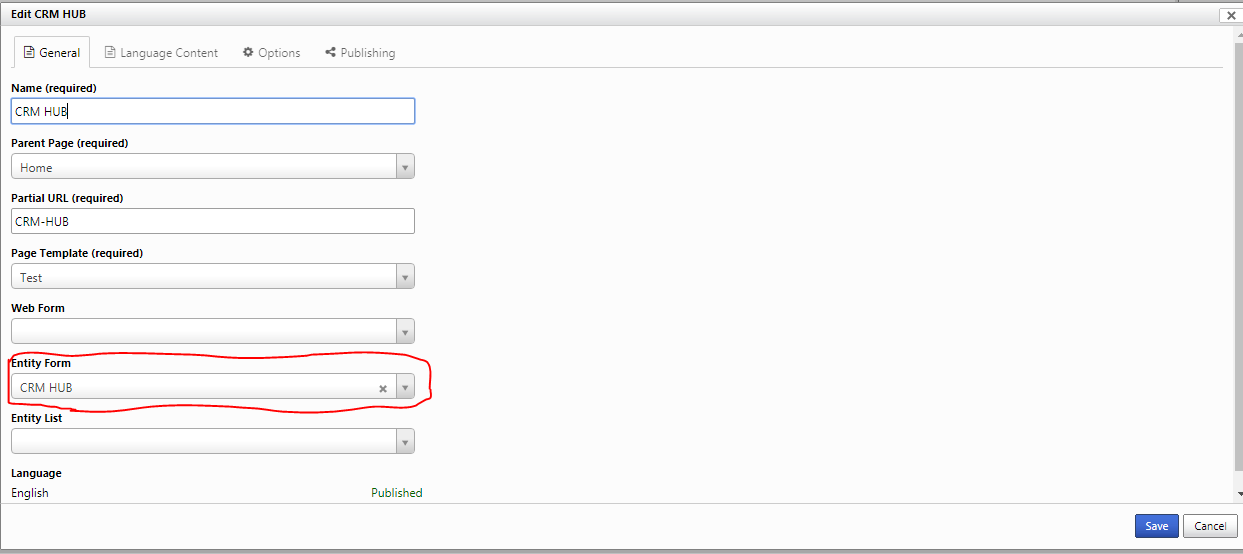
Step 2: Go to Portal > Web page. Open a web page on which you want to apply this entity form. Now select the entity form which you created in last step.

Step 3: Now go to Portal > Web Template. Open a web template which is applied on the web page.

Step 4: Copy the below code and paste it in source panel of web template.
{% entityform id:page.adx_entityform.id %} or you can use this one also
{% entityform name:'Entity form name' %}

Now check the Portal....

If form is not visible to you then click on edit web page and check entity form is selected or not. If not then select it.


Click Here to know, Content Snippet in ADX Studio Portal / D365 Portal.

How to create a custom web page in D365 Portal / ADX Studio portal.

Hello guys.... I am back again with an another post. Guys if you have requirement like create a custom web page or you want to apply HTML and CSS then you are at right location, Here i will show you how to apply them and create a custom web page.

Step 1: Go to Portal > Web Template.

Step 2: Create a new Web Template. Give some Name and Select the website for which you are doing this.

Step 3: Now copy the below code and paste it in source of web template which you created in last step and then save this web template.
Code :

<html>
<head>
<style>
#example1 {
    background-image: url(/logo.png);
    background-position: right bottom, left top;
    background-repeat: no-repeat, repeat;
    padding: 15px;
}
</style>
</head>
<body>

<h1>sed diam nonummy nibh euismod tincidunt</h1>
<p>Ut wisi enim ad minim veniam, quis nostrud exerci tation ullamcorper suscipit lobortis nisl ut aliquip ex ea commodo consequat:</p>

<div id="example1">
<h1>Lorem Ipsum Dolor</h1>
<p>Lorem ipsum dolor sit amet, consectetuer adipiscing elit, sed diam nonummy nibh euismod tincidunt ut laoreet dolore magna aliquam erat volutpat.</p>
<p>Ut wisi enim ad minim veniam, quis nostrud exerci tation ullamcorper suscipit lobortis nisl ut aliquip ex ea commodo consequat.</p>
</div>

</body>
</html>

Note: Most important thing is after make the changes in source panel of this web template. Don't forget to save this template. Sometime user forget to save these changes.

Step 4: Now go to Portal > Page Template.

Step 5: Create a new page template. I would suggest you, give the same name of the page template which you gave the name of web template.
Website: select the website for which you are working.
Type: type is to be web template.
Web Template: select the web template which you created in step 3.
Use website Header and Footer: Checked this option.
Entity Name: select the web page entity.

Step 6: Now go to Portal > Web Page.

Step 7: Create a new web page as shown in below snapshot. In page template field, select the page template which you created in step 5.
Step 8 (Optional): This is optional step. I am doing this step because in my code i gave Image URL.
So to show image in portal, I have to upload image in portal server as show in below snapshot.

Step 9: Add this web page in Header's Nav Bar.


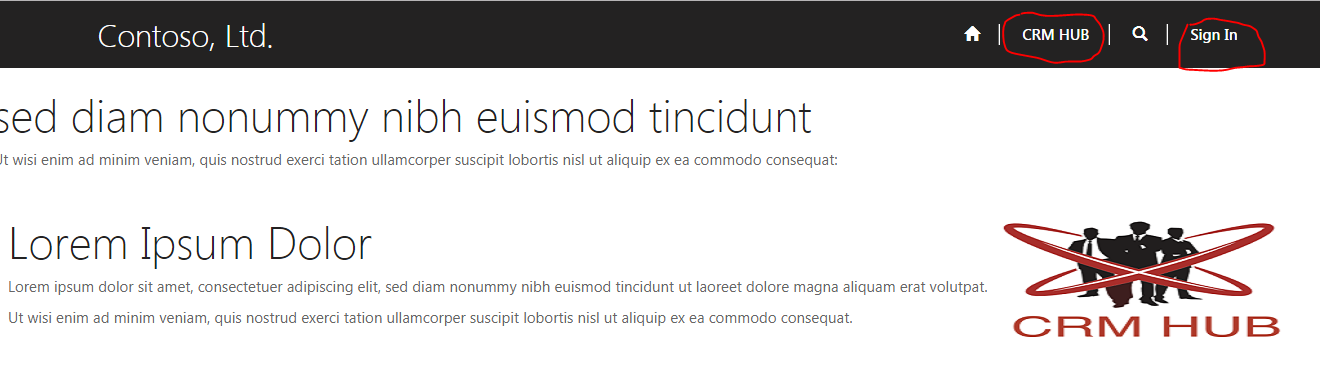
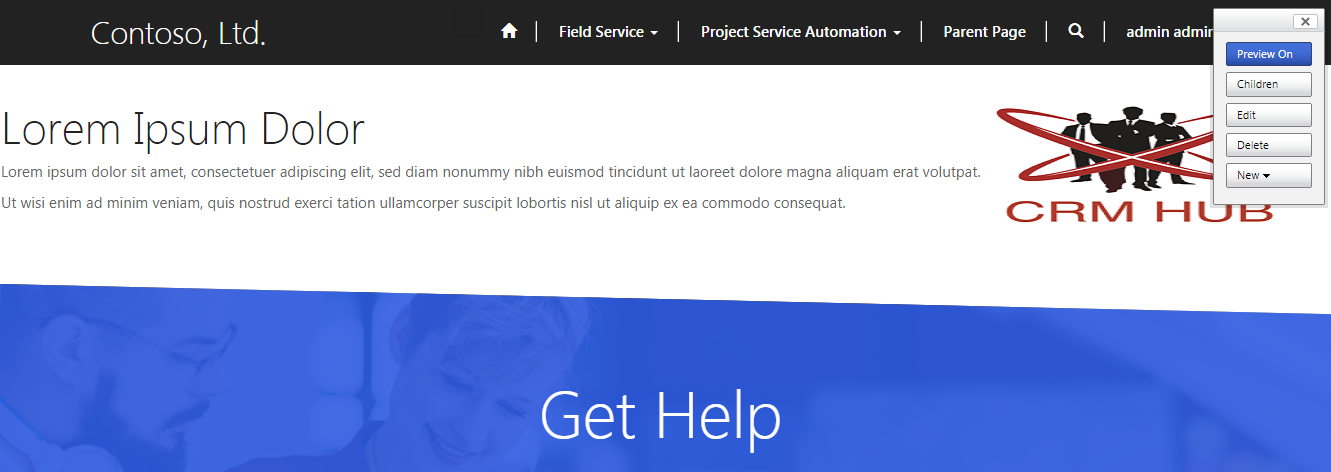
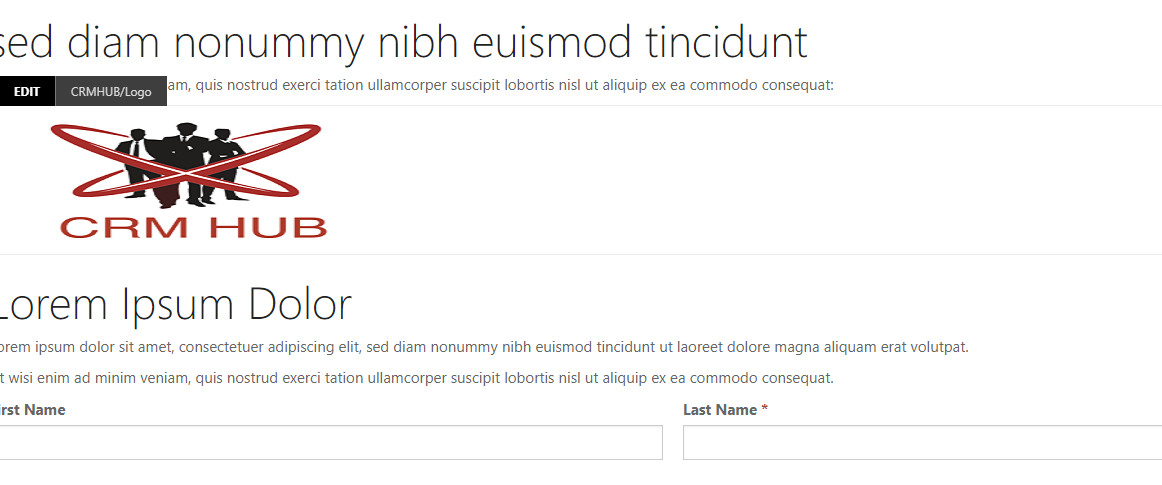
Now check open this web page in the portal.....


Click Here to know, How to add entity form in our custom web page.